


How to Care for Synthetic Wigs?
Synthetic wigs are becoming increasingly popular – they are more affordable than natural hair wigs, and thanks to modern fibers they look...
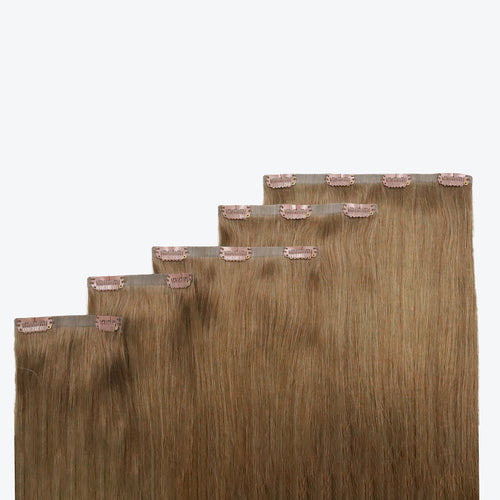
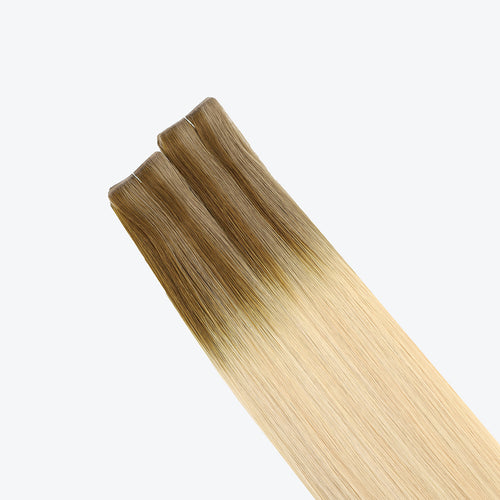
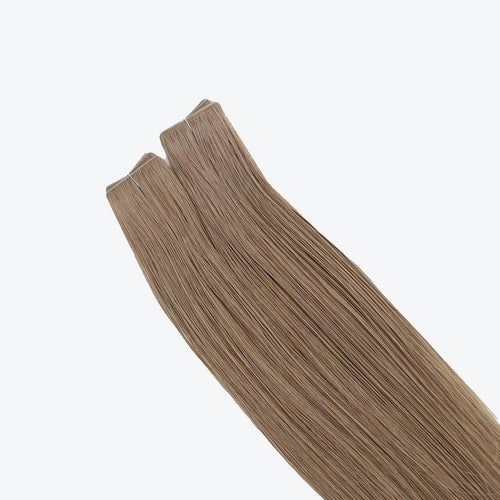
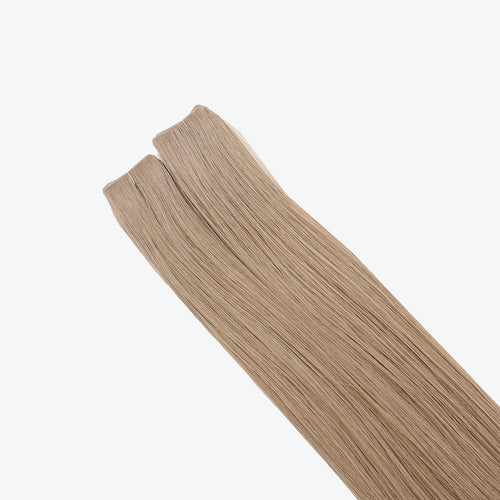
The tape-in method, also known as tape-on or simply tape extensions, is currently one of the most popular choices for those looking to add length and volume to their hair. Its rising popularity is due to several key advantages that make it a go-to solution for many.
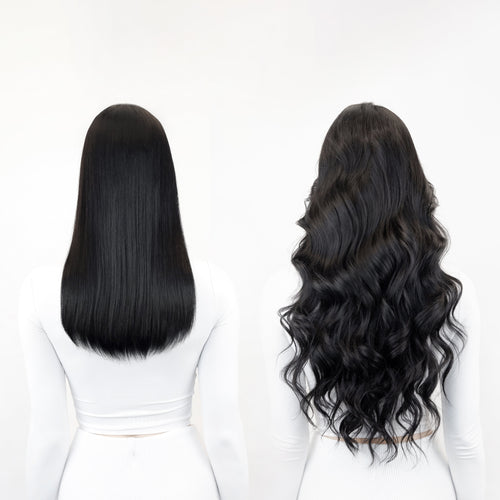
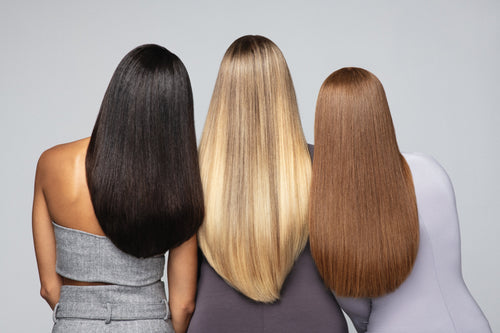
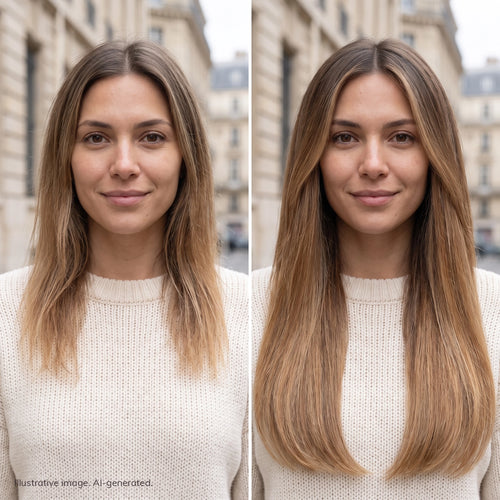
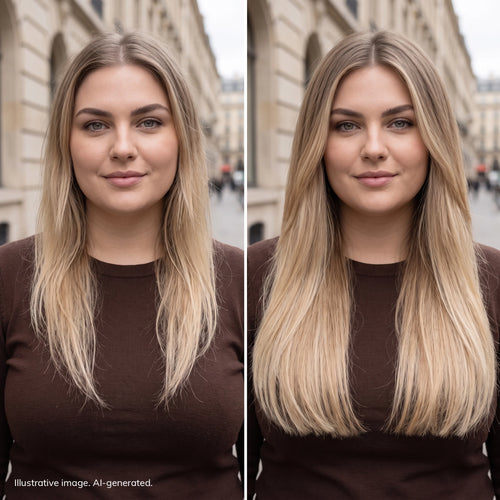
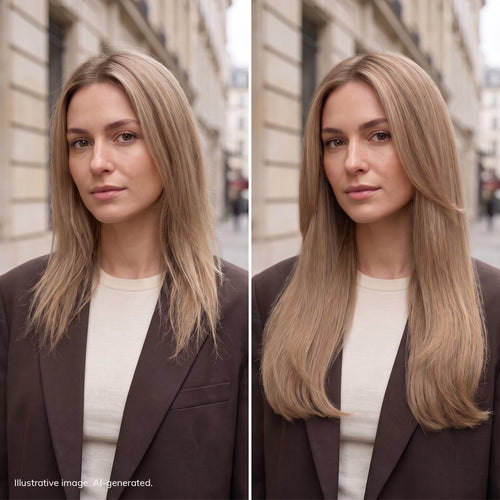
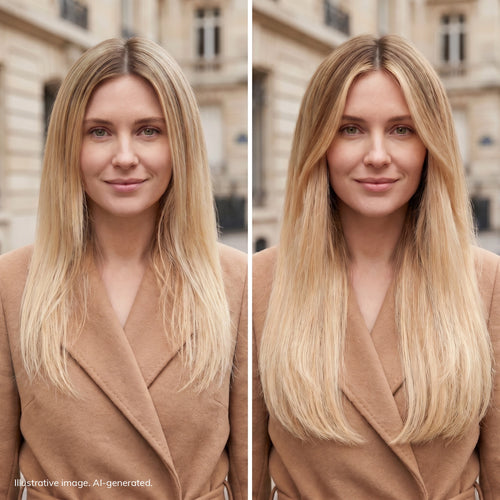
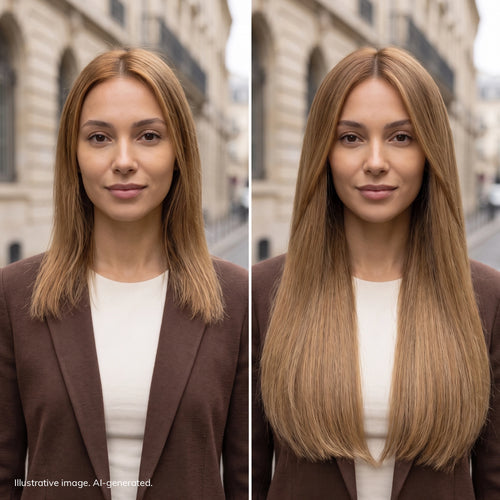
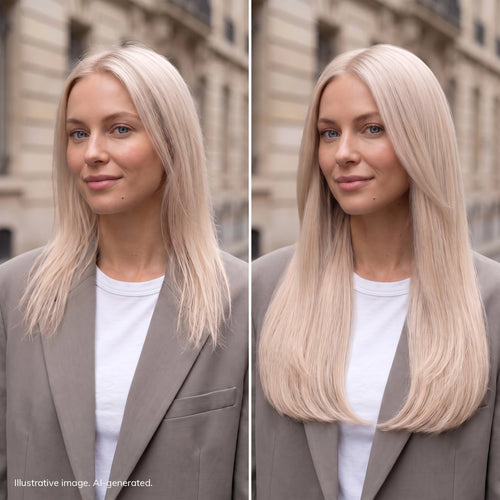
Above all, tape-in extensions are a minimally invasive technique that is safe for natural hair, quick to apply, and offers long-lasting results — often lasting several months. The "before and after" results of tape-in extensions can be truly transformative, even for hair that is naturally fine, fragile, or in poor condition. The final effect is seamless and virtually invisible at the connection points, making it both aesthetic and practical.
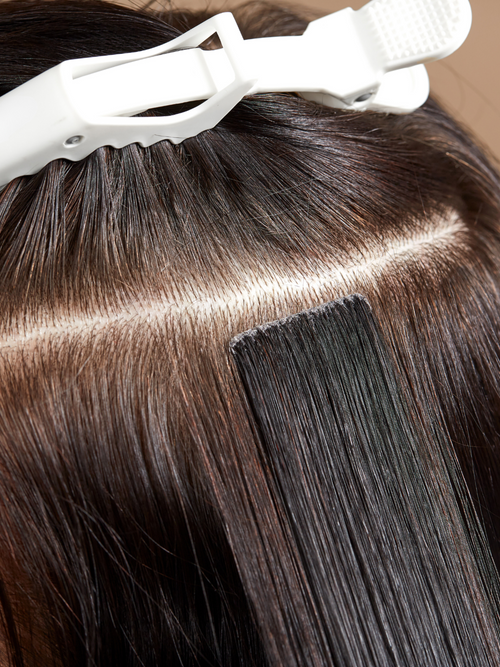
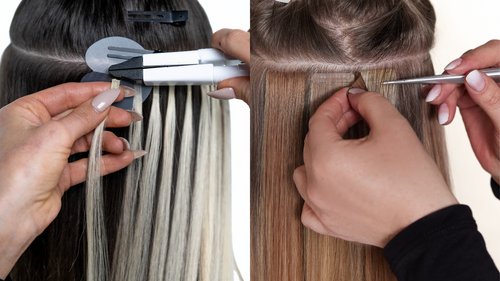
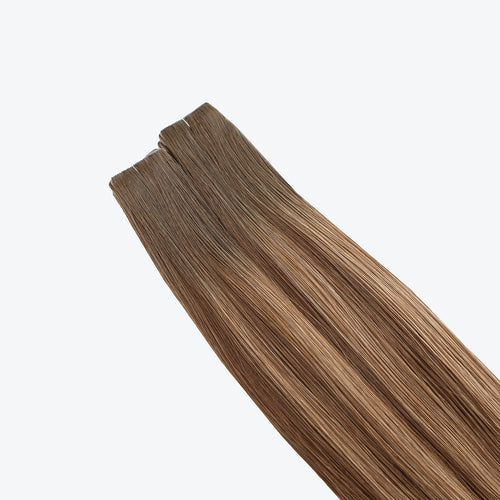
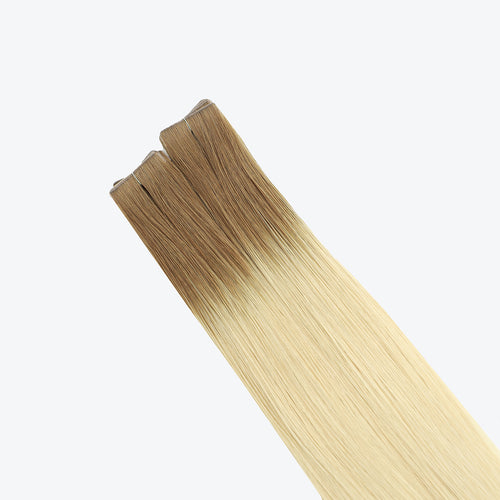
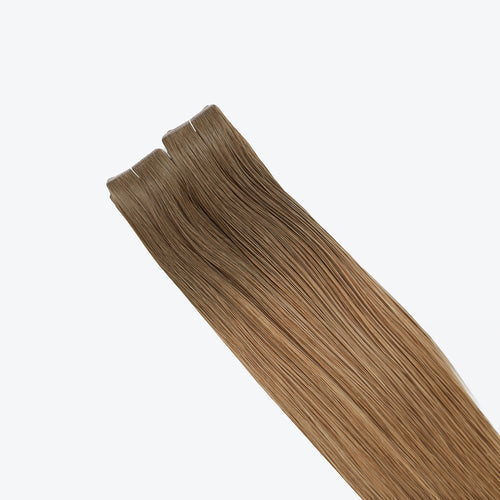
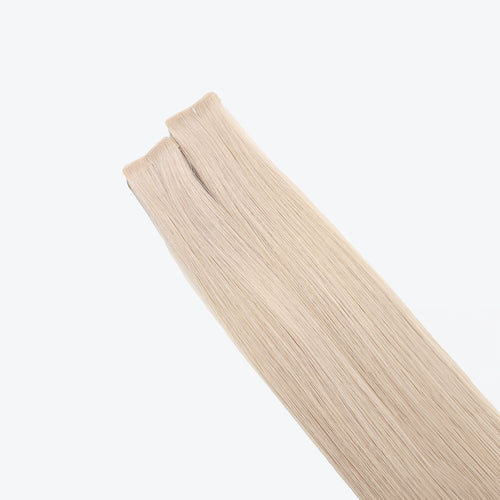
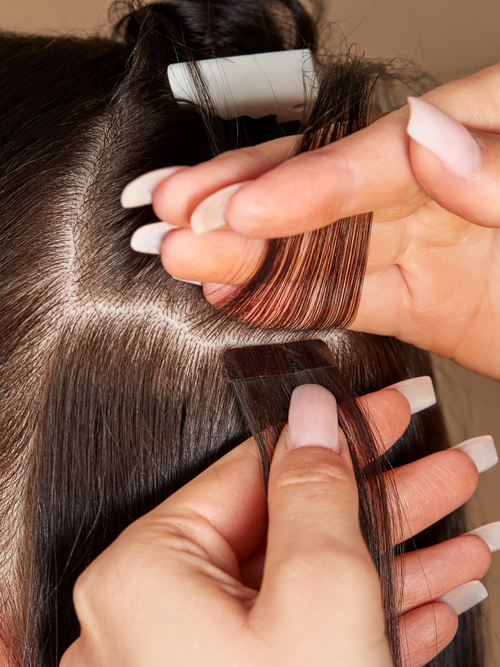
The name of the technique gives a good hint about how it works. The tape-in method involves attaching transparent, silicone-based adhesive strips with hair extensions to your natural hair in a “sandwich-like” manner — your natural strand is placed between two extension wefts.
How to do it?
Start by placing one tape-in extension underneath a thin section of your natural hair, with the adhesive side facing upward. Carefully lay the natural strand flat onto the tape. Then, take a second tape-in extension and place it on top, with the adhesive side facing downward. Finally, press the two strips together firmly — and your tape-in "sandwich" is complete.
Step 1: Professional Consultation
The first and most important step is a consultation with a hair extension specialist. This is where you'll define your goals and preferences, choose the right shade, length, and type of hair. The stylist will assess the condition and health of your natural hair. It's highly recommended to choose human hair extensions over synthetic ones — the results are far more natural-looking and long-lasting.
Step 2: Preparing the Hair
Before the application, your natural hair needs to be washed thoroughly with a clarifying shampoo to remove any styling products or oils. This step ensures the adhesive tapes will bond securely. After washing, hair should be completely dry and carefully brushed out to eliminate any tangles.
Step 3: Sectioning the Hair
The stylist will divide the hair into sections, starting from the lower back of the head and working upward. Hair is clipped up in layers to allow for precise and even tape placement.
Step 4: Applying the Tape-In Extensions
Now it's time for the actual tape-in application. Each extension is placed close to the scalp, “sandwiching” a thin strand of natural hair between two adhesive wefts. Proper placement is key for a natural-looking result. The entire process takes about one hour.
Step 5: Trimming and Styling
Once all extensions are in place, the stylist will trim and shape the hair to blend the extensions seamlessly with your natural strands. The process ends with final styling, creating a cohesive, polished look.
In most cases — yes! The tape-in method is versatile and generally suitable for all hair types, regardless of the condition or texture of your natural hair. However, your hair should be at least 7 cm (around 3 inches) long, measured from the crown, to properly support the extensions.
Tape-in extensions are commonly available in lengths of 25 cm (10"), 40 cm (16"), and 55 cm (22").
How Long Do Tape-In Extensions Last?
Tape-in hair extensions are considered a semi-permanent or long-lasting method of adding length and volume. Their durability depends on several factors, including the quality of the hair used (opting for human hair extensions is highly recommended), the skill of the stylist, and proper aftercare.
On average, tape-in extensions can last 6 to 9 months, with regular maintenance and repositioning every few weeks.
One of the biggest advantages of the tape-in extension method is how discreet it is. The extensions are virtually invisible, thanks to transparent and flexible adhesive bonds that seamlessly blend with your natural hair. You can even wear your hair up without worrying about the tapes showing. The adhesive is strong yet lightweight, ensuring a secure hold without putting strain on your natural strands — making tape-ins extremely comfortable to wear.
High-quality human hair extensions often come with what’s known as invisible tape — a special design that mimics natural hair growth at the root. This feature makes the extensions even less detectable and contributes to a flawless, natural-looking finish.
No — when applied and maintained properly, tape-in extensions do not damage your natural hair. The method is quick and non-invasive, as it doesn’t involve heat or harsh chemicals. In fact, it's often recommended for women with fine or fragile hair, which further confirms its safety and gentle nature.
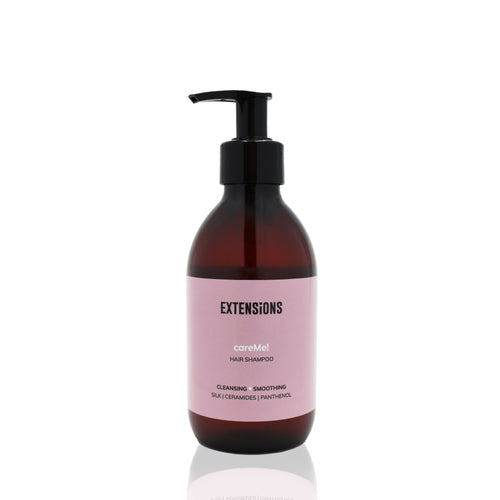
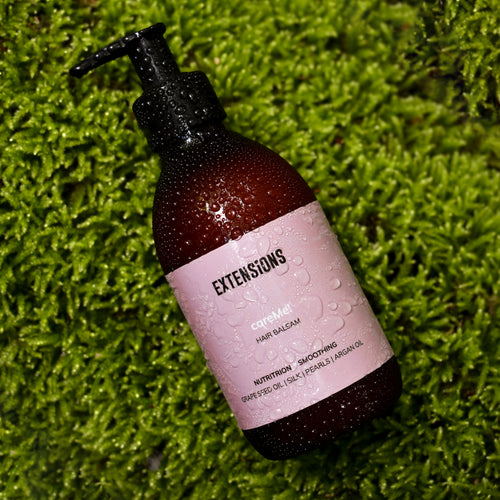
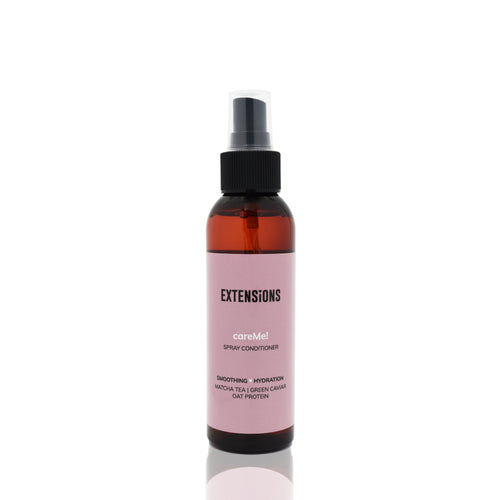
That said, proper aftercare is essential to keep both your natural hair and extensions in top condition. We recommend using hair products specifically designed for extensions — such as shampoos, conditioners, masks, oils, and heat-protection sprays from brands like Hairtalk or careMe!. These products help maintain the bond integrity and extend the life of your extensions.
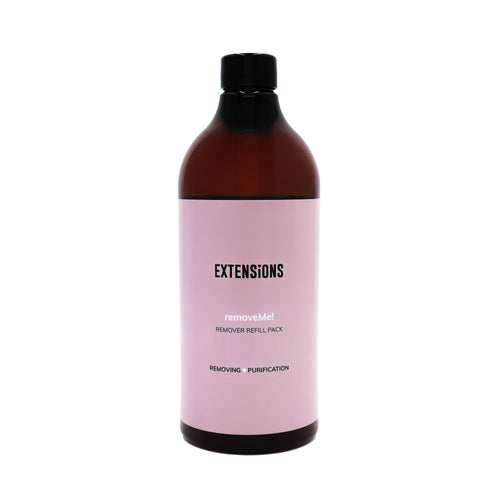
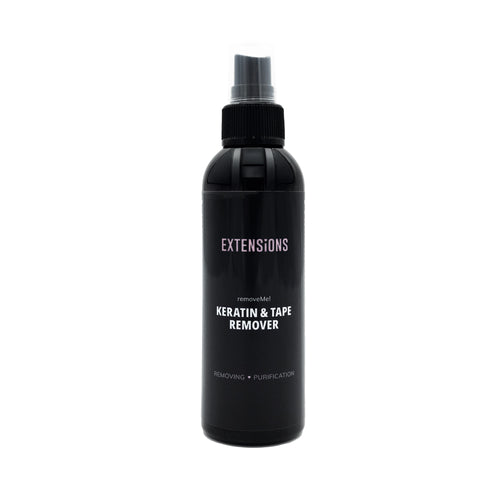
The best way to remove tape-in extensions is to visit the same professional stylist who applied them. Tape-in extensions can only be safely removed using a remover — a special product designed to dissolve the adhesive without damaging your natural hair.
First, gently detangle your hair. Then apply a few drops of the remover directly to the tape bonds and wait for about 30 seconds. An even more convenient option is a remover with a spray applicator, which is available at our hair shop. Simply spray the remover onto the bonds, then carefully separate and peel off the extensions. Repeat this process for each tape-in “sandwich.” After removal, comb your hair again, wash it thoroughly, and apply nourishing hair products.
It’s important to note that tape-in hair extensions are reusable. After removal—typically every 6 to 10 weeks—you only need to replace the adhesive tapes with new ones to reapply the same hair extensions again.
CHECK
blog